Showing posts with label Fabric. Show all posts

Apron Attempt

       This past weekend, we sent the dog to a pet hotel the neighbors house. We packed up and drove down to Indiana to visit my dad. We went to the zoo, a minor league baseball game, and Hobby Lobby.
       Yes, I have NEVER been to Hobby Lobby before then. Is that sad or what? The closest one to our house is about 45 minutes. Urg.
        My mom picked up an apron kit for 5.99 (50% off!). I guess she's going somewhere where she needs to bring an apron. Odd but okay.  I made it for her and ended up getting $10. The thing was a total pain so I'm definitely glad I got paid :)
          After spending about an hour cutting out all the pieces, I was annoyed and saved the rest for the next day. The material is kind of ugly so I'm embarrassed to share pictures.  Ignore the PJ's and the messy hair.

 Not a big fan of the sweet heart top. It looks  more like a crab claw. 
Turning the straps inside out is a great mindless, TV watching activity. 

      All in all, this is not something I will buy again. It all came on a sheet of fabric and the directions were printed directly on it. This was supposed to be a project for beginning sewers. It was pretty easy but the directions were crap. In one point, it tells you to fold a strip of fabric in half. I folded it hamburger style and sewed it. I soon realized it was supposed to be a strap so it needed to be hotdog style. I  had to take out all the stitches, fold it the other way and sew which was a pain. 
       Maybe I'll try this again but with my own choice of fabric, no pattern, and no claw top.
    
Enjoy this one, Mom. You're not getting another for a long time.

Simple Skirt

         This is my 100th post! Whoo hoo! I'm glad to have come this far.      
         For this post, I wanted to do something special. I've been wanting to make a simple skirt for a very long time. I found the perfect tutorial over at Ruffles and Stuff.


          I decided to give it a shot. I headed to Jo Ann's, 50% off coupon in hand. I got a yard of 2 in. wide elastic for maybe 1.87 or so. I had about 5 or 6 inches leftover. Of course the first fabric I really liked which was maybe 7 or 8 dollars a yard was the one I chose. I think I got 1 2/3 yards and it was enough for two skirts.


For my waistband, I just turned marked how big I wanted my waistband to be and sewed straight across a few times.

I then noticed this: 
 I was going to just take out the stitches are start over, but they wouldn't come out easily so I had to live with it.
Here's my fabric:

Here's my seam. It's weird how everything matches up. That was 100% unplanned. 

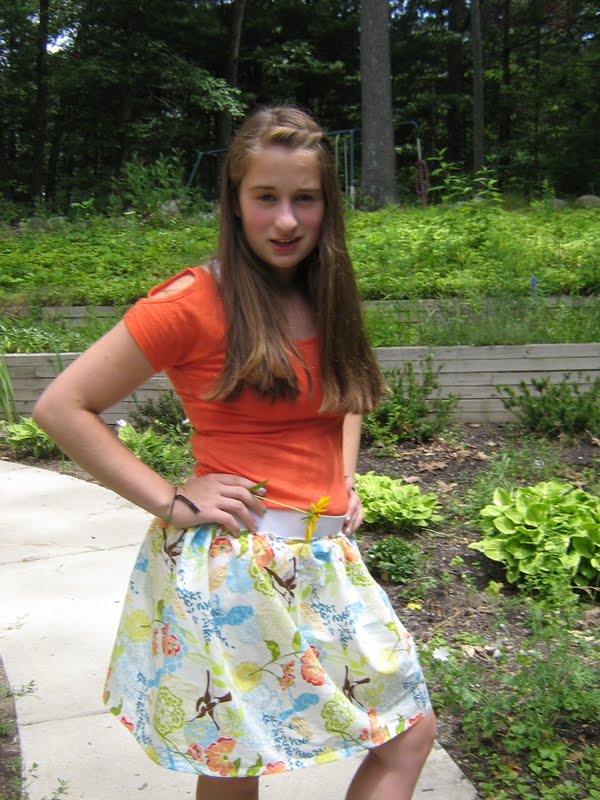
And now here's my first attempt at a photo shoot where I'm the model. Most of these are my "What the Heck?" faces.

What a great photographer. 


Shirt: Delia's Skirt: Me
        I had planned on making either another skirt from the leftover fabric or just saving it because I liked it so much. I came home from cheer practice to see my sister had wasted 4 dollars worth of fabric on a skirt. She is the type who will just start cutting and hope it turns out. I would have been fine if that was ANY other fabric. I think she did an okay job but because she didn't ask first, I'm having her pay me back for it. Let's add that to the other money she owes me.

Flower Week- Day 6- Origami Fabric Flowers

I'm deciding to end flower week a day early. *Tear* I really have no particular reason but I'm leaving this afternoon to go to Indiana for the weekend.
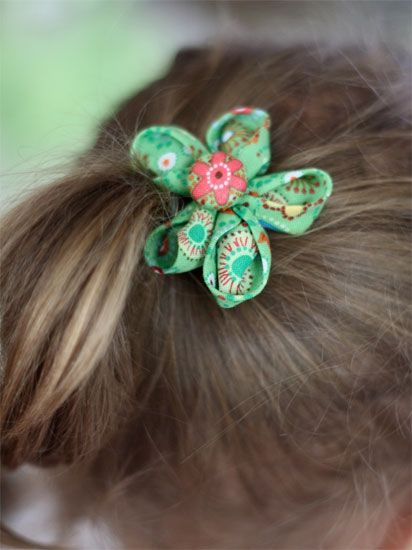
For the last day of flower week, I wanted to do something a little unique. We've seen YoYo'sRolled Roses, Pinwheel FlowersDahlias, and Box Fold Flowers. All of those are pretty common. Time to spice things up! And now presenting...
Origami Flowers. No delicate creasing involved. I couldn't find one specific name for these beauties. They look like origami to me.


Factory Direct Craft (This one really does have a tiny bit of folding involved!) 

I attempted these a while ago but can't find any pictures or the actual thing. Oh well. 
Happy Crafting :)

Flower Week- Day 5- Box Fold Flowers

Let me tell you that these flowers can either be fabulous or a total flop. I've successfully made one of each! I made one and got TONS of compliments on it. I made another and it is stuffed in the bottom of my bathroom drawer somewhere so far un-worn. Want to see some tutorials to make these little beauties? Well, you don't get a say here.


And now for the reveal of my attempts!
This one I think looks great besides the little black fuzzies from the button.

This one has hot glue peeking out from beneath the layers in a thick, ugly manner.
I think I'm going to attempt these with felt and flower shapes instead of circles. 

Yesterday I got some fabric and elastic from Jo Ann's and I plan to make a simple skirt. I'll hopefully be blogging about that on Monday or Tuesday.

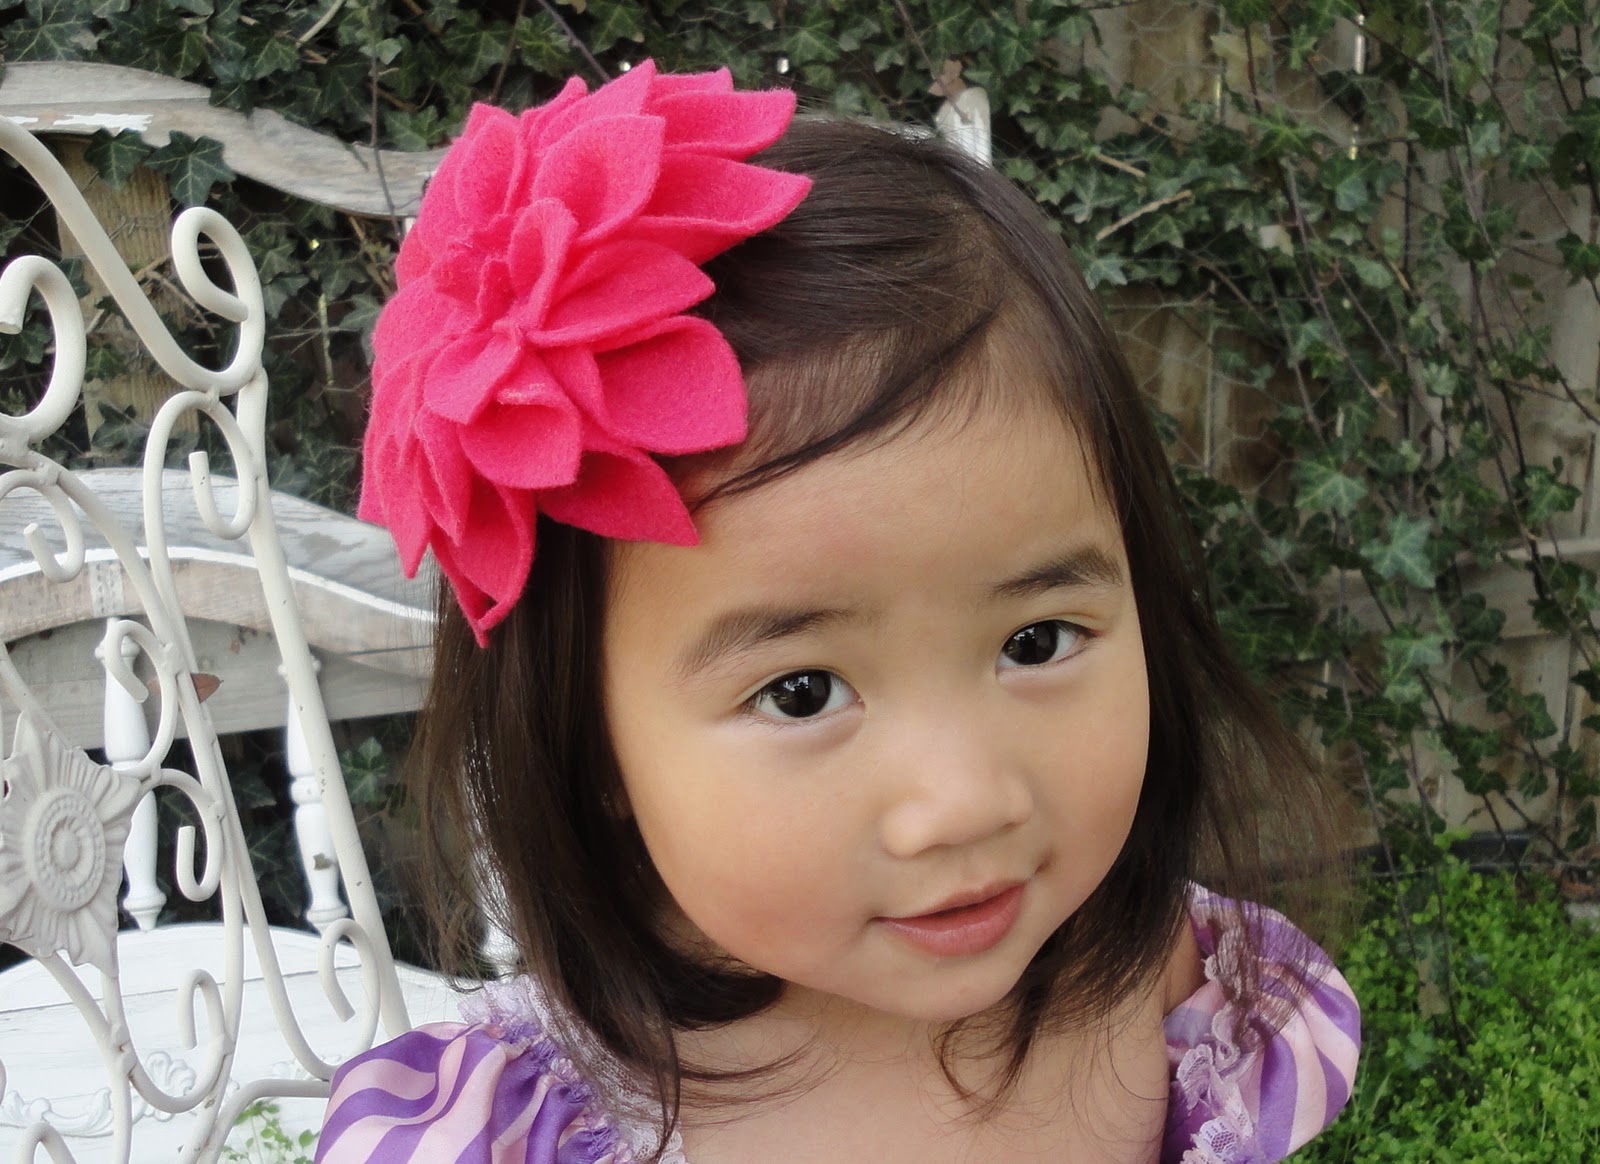
Flower Week-Day 4- Felt Dahlias

Last night, as I was rolling in at 8:30 after cheer practice, I realized I hadn't written up a post for today. Then I realized I'm going to be gone all day today. Well, here are some late night scramblings I put together just for you guys.
I've only tried my hand at these once. I loved the turnout... sort of. I didn't quite follow the directions exactly.... hehehe. Anyway, here are some lovely dahlia tutorials!

Helpful notes on this tutorial can be found here


I find these flowers just stunning! Here's my take on it:
Yuck.
I'm NOT a fan of the hot glue. Peeking out from each petal was a nice big glob of it.  I think I may have to try this again using liquid glue and clothespins to hold them while they dry. I gave this one to my godmother/aunt for Mother's day. It's the thought that counts, right? 

Flower Week- Day 3- Guest Post- Pinwheel Flowers

Today, I'm going to hand the reins over to one talented blogger. She's going to show you how to make yourself some lovely flowers.... Take it away!

Hi!  I'm Jennifer Dawn--a wife, mother, teacher, avid crafter, and blogger.  You can find me over in my little corner of the world at The Life of Jennifer Dawn.  I am honored to be guest blogging here at Chica es Artistica for Flower Week!  What lady doesn't love flowers?!  I am so excited to see all the lovely, flowery ideas that will be presented this week on Maggie's blog.  Today I am going to share with you my tutorial on making...

Pinwheel Flowers
 Supplies:
Fabric Scraps
Scissors
Needle and thread
Pins
Button
Compass or circular object
Pencil or pen
Paper

Directions:
1.  Use a compass or circular object to draw a circle onto a piece of paper.  The circle should be the size you want your finished pinwheel flower to end up being.  Cut out the paper circle in order to use it as a stencil for cutting out 7 (thinner fabric) or 6 (thicker fabric like knit) circles from your fabric scraps.

2. Use one of the fabric circles as the base of your flower.  Set it aside for just a bit.  Fold a second circle in half once.

3. Then fold the half circle into the shape of a "s" or "z" by folding one side over one direction and...

the other side over the other direction.

4. This creates a triangle...

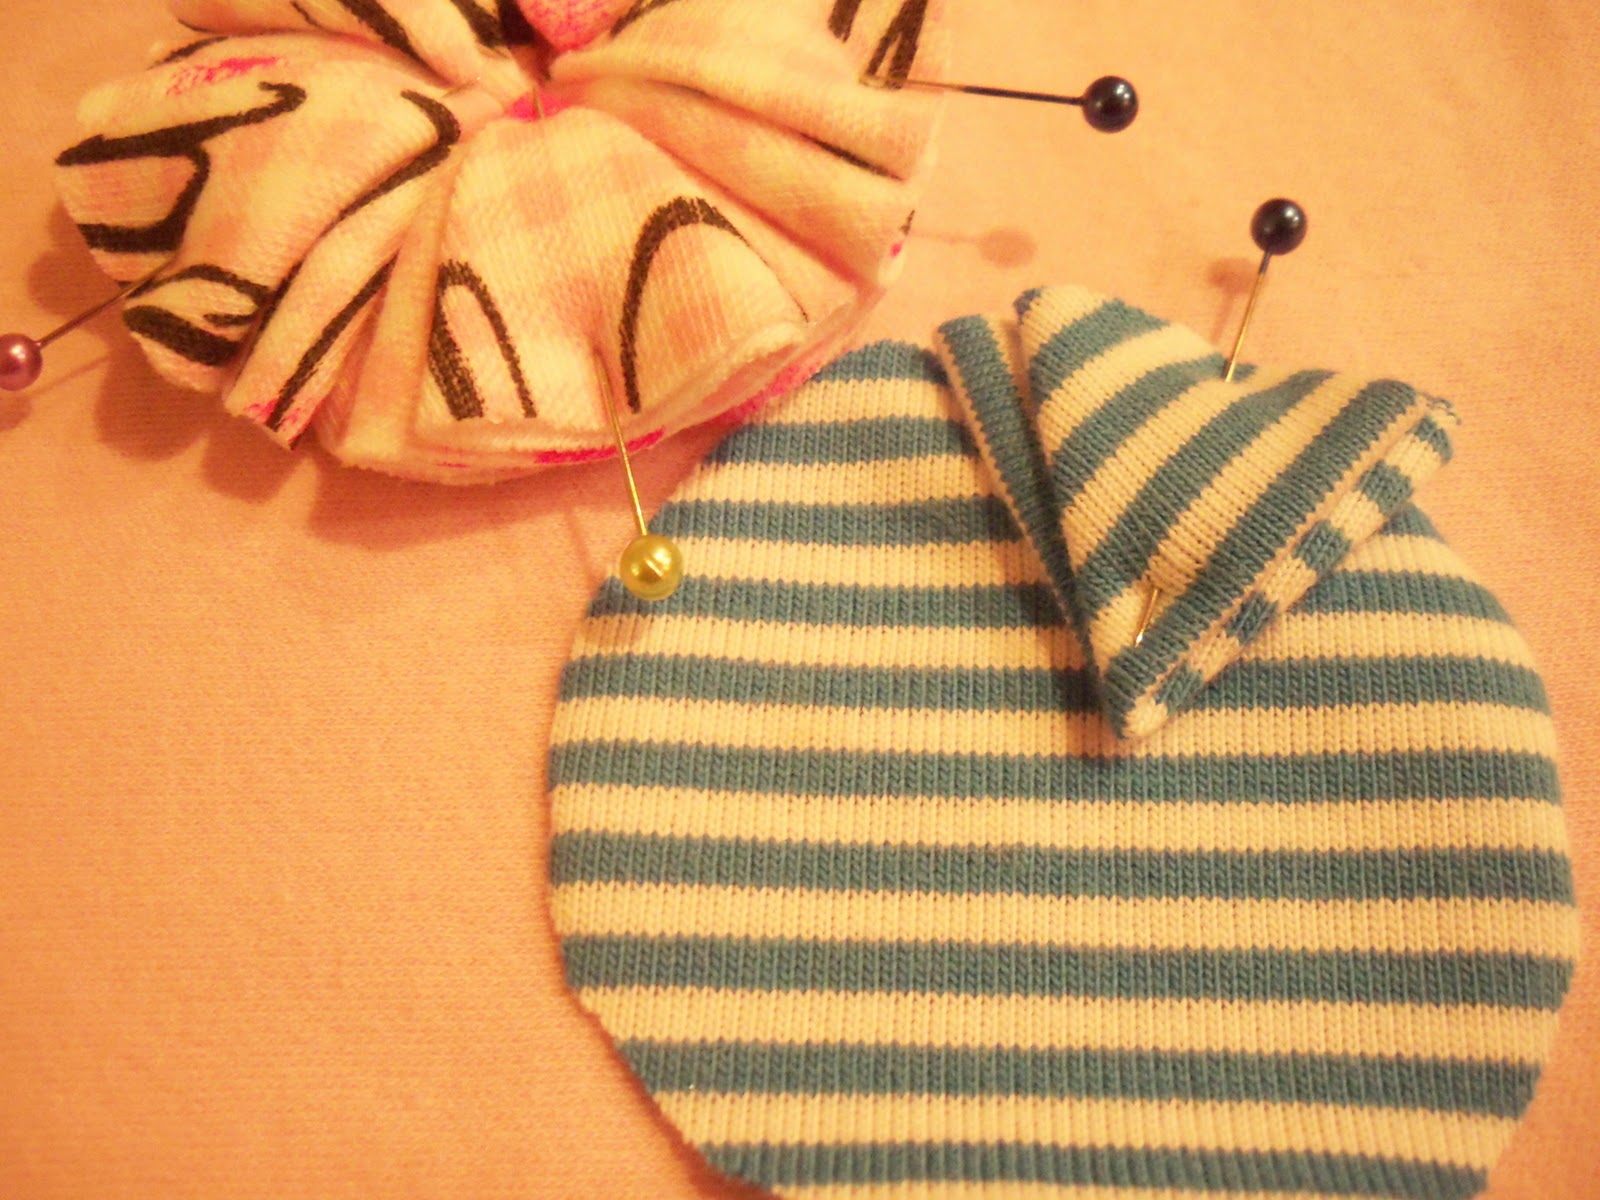
that you pin onto the fabric circle you are using for your base.

5. Repeat steps three and four continuing to pin the triangular petals around the circular fabric base.  If you are using a thinner fabric, you will be able to fit six petals around the flower base, but if you are using a thicker fabric, you will probably only be able to fit five petals.

6. Use your needle and thread to secure the flower by making several stitches through all of the pieces around the center.  (Tip: I usually sew a spiraling circle around the center that catches all of the pieces but is small enough to be hidden by the button.)

7. Secure a button to the center of your flower.  Now you have a finished pinwheel flower.

A Few Ideas for Your Pinwheel Flowers...
You can attach a snap to it in order to use it for a "Snappy" T-Shirt headband,

glue a pin back onto it in order to use it as a brooch,

or simply sew it onto a piece of clothing.

Thanks again, Maggie, for allowing me to appear on your blog.  You are truly one talented chica.
Happy Crafting!

Those are just too cute! I'm definitely going to have to try that sometime. Thanks Jennifer!

Flower Week-Day 2-Rolled Rosettes

Beautiful and oh so easy to make. Don't you just love them? Each one is individual and different yet so pretty!


And now to share a bunch of tutorials for making these little lovelies!


Brown Paper Packages

I think these are great to dress up any outfit! Here's some I made and added to my Shirt Dresses.
I love how everyone creates these differently. I've been trying to experiment to get them to look a certain way but I've just ended up with some train wrecks. 

Flower Week- Day 1-YoYo's

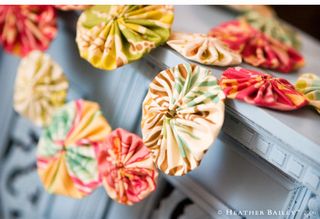
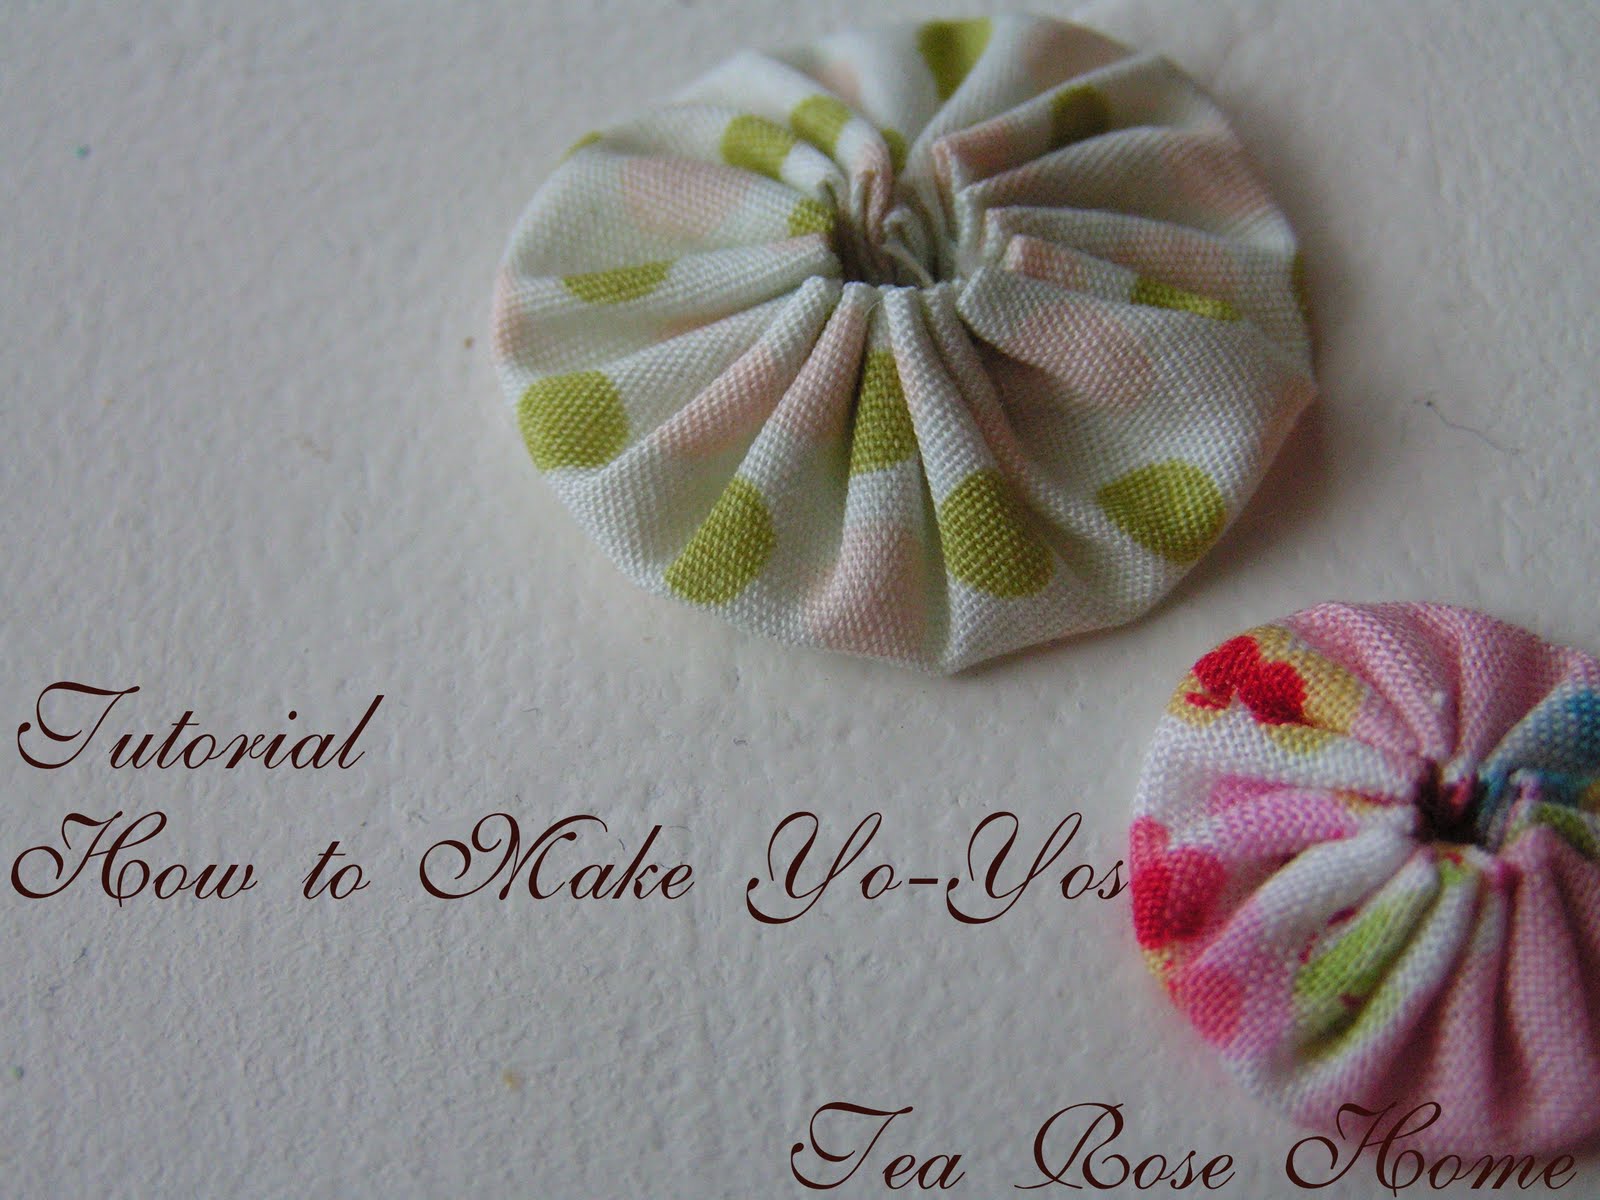
Simple. Basic. Classic. The YoYo. You can find them on plenty of vintage quilts but finding a tutorial on how to make them is tough. When I first wanted to make these, I had to search. and search. and search some more!
Don't you just love them? I know I do! And now for some good tutorials!


Heather Bailey (Scroll down and click 'Enter Gallery' to begin tutorial.) 


All these tutorials are guaranteed  by me to be clear. No dark pictures or skipped steps.
A few months ago, I found a rag in our rag bin. Well, I guess that would make sense... Anyway, I pulled it out and realized it was the perfect size for a yoyo. I had so much trouble finding a clear tutorial or well, even a tutorial at all. I finally found one and made myself a yoyo. I added a covered button and wallah:
Awkward picture, huh? 

Anyway, I decided I needed to repeat this in honor of flower week. I should be testing out these tutorials, right? Well, I really only used my brain for this one, but I pulled the information from reading the tutorials on prior occasions. Wow, I'm confusing myself. 
Well, anyway, I found an old shirt in my fabric stash, cut out the cuff,  slit in open, and traced a circle onto it. Was it perfect? HA. Nope. It was pretty small, but I wasn't actually looking to spend a bunch of time making it. 

I sewed myself a lovely circle and then... I pulled it tight. And, I realized I forgot to tie a knot. After I made an uh, lovely knot, I re sewed my entire yoyo. 

This time, it actually really did turn out! 

I sewed on a button and called it a day. 
It's cute in a lopsided, funny looking, oddly shaped way. It's unique.